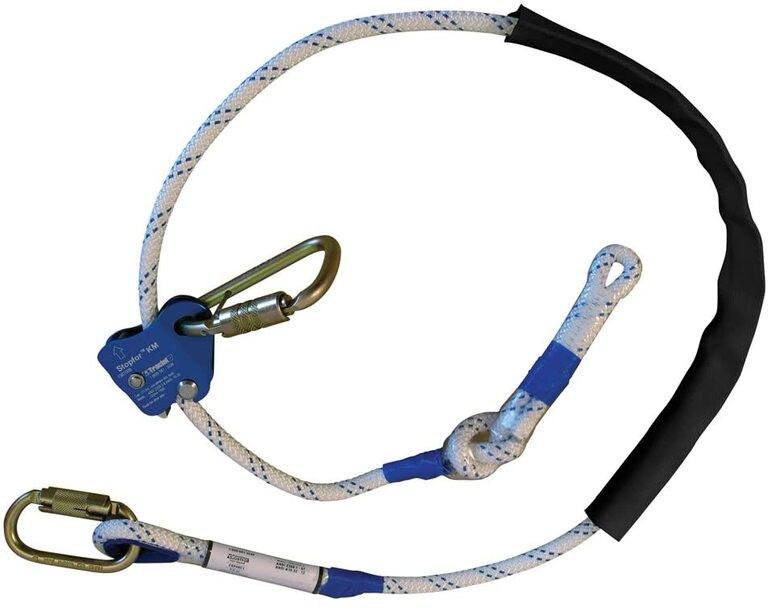
A harness is one of the simple shapes of climbing equipment, but it is also one of the most valuable. Your belt is an accessory for your rope and supports. You must match the belt around your waist so that you can start climbing. If you climb with a buddy, then you can tie your climbing rope to it together with a standing device. Check your belt for a stable climb before going out onto the cliffs.
Process I1. Put the belt in the front of you with both the hips and leg loops
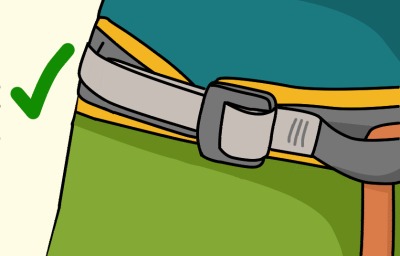
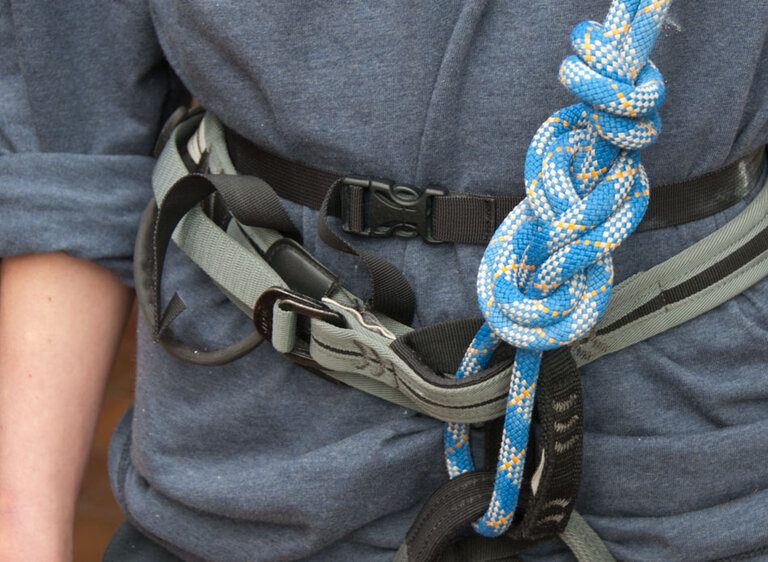
Put the belt on the ground while you plan to put it on or keep it before you. Your harness has a waist band that passes through your body with a pair of buckles. The waistband is often connected to the leg loops dangling under it with a main circuit or ring. Turn the belt so that the belay loop is facing away from your body.
The proper positioning of the circle also guides the loops of the legs. They are all attached, so you don't have to think about separately getting through them.
And sure that the belts don't get stuck.
2. Step the belt into the loops of the thighs
This is like wearing a pair of socks. Check that the leg loops lie underneath the waist strip so that you can cross them both simultaneously. Then you pass your leg into the right loop. It's fast and you can tug the harness down, unwrap, and try again if you make a mistake.
Take the waistband first and always. You would not be able to wear the belt properly if you just get through the leg loops.
3. Tie the harness until the shoulders are above the waistband
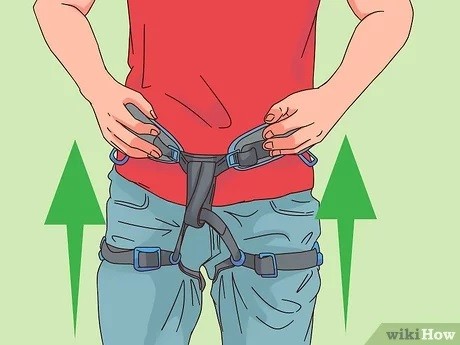
The tailband must lie just over your shoulders, and it must be held in place by your hips. Once the waistband is raised, change the leg loops as necessary. Only below your groin, place the leg straps at the top of your thighs.
If the waistband can't be lifted, slip the belts out of the buckles, release the leg loops.
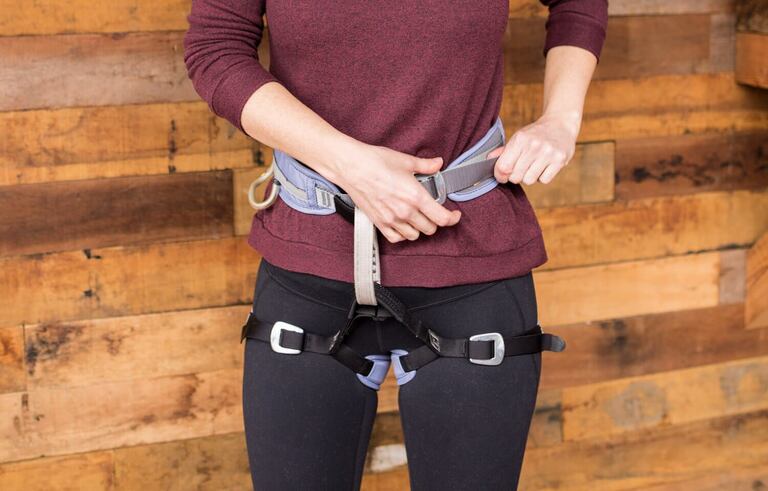
4.Drag the tail ends of the belts to secure the waist loop. Like several other fabric styles, new harnesses may be adjusted. Look for the belts left and right if the belt is flexible. Pull the belts from your body tight but not crushing, until your belt is tight.
Check the tail belt and slide 2 fingers below the straight. Check the tail belt. The first moment you place the belt on it, it will feel a little awkward, but it is needed for a successful climb.
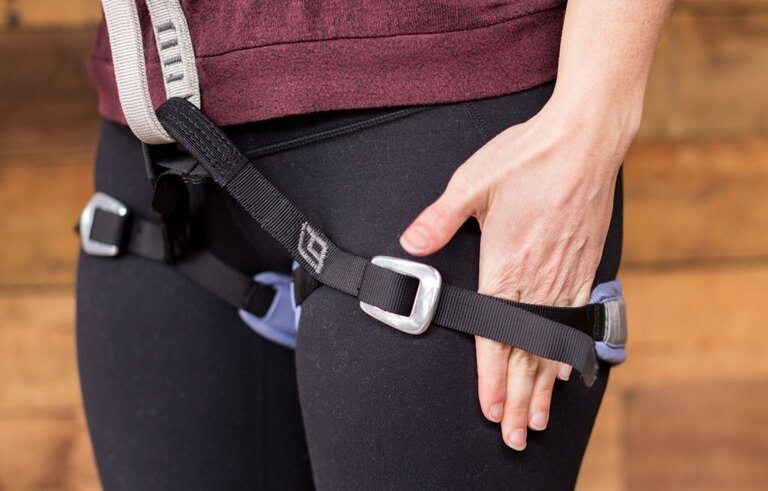
5. If your belt loosen, approximately twice belt loop back
Former harnesses have unlooped loops that must be manually bonded. For this purpose, pull your strap out the loop and push it through the belt to the middle of your body. Turn the belt backwards and draw the strap on itself. The opposite direction. Then remove the tail sides from the belt buckles to secure the harness.
6. Repeat with your leg circles the bending and tightening operation
The loops of the legs work much like the tail. Many models have elastic straps, but certain older models tend to attach. If you have to attach them to you, twice drag them back and forth by your buckles. Regardless of what harness you have, tightens the tail ends of the belts.
7. Feed into the tail ends of the straps
You probably do have extra stuff on your belt front. As those distractions hamper a climb, put the harness in the buckles of your belt. Additional buckles or rubber loops may be used on the edges to pin up the belts.
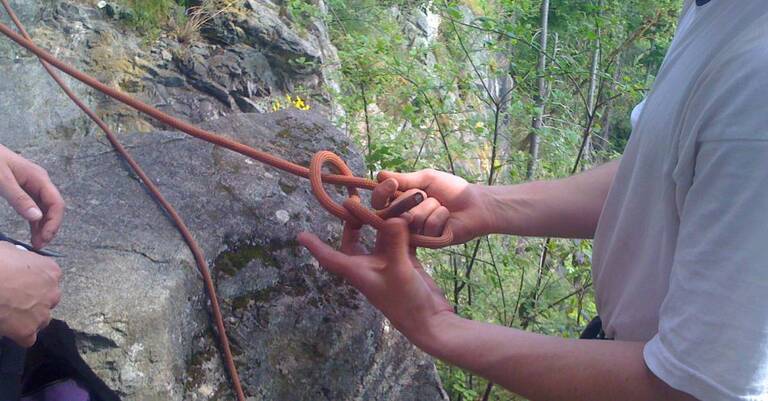
Process II1. Meter on the end of a climbing rope approximately 3 1⁄2 inches
Binding involves knotting the belt on a load-bearing climbing rope. In order to tie in, you have to have a rope approximately 200 feet (61 m) long. And the distance from one end should be measured. The calculation must not be accurate and you can approximate it quickly with your shoulder.
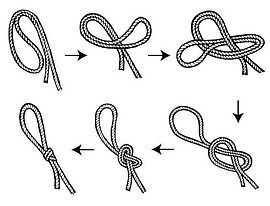
2. Turn the loop twice over to make a bend
Only at point you were evaluating pinch the rope and then let the ends stay side by side. Then curl the ropes to shape the ring, which is also known as a bow. The shorter rope length is considered the work end. This is the portion that is required to finish the knot.
3. Place the work end of the rope in your created loop
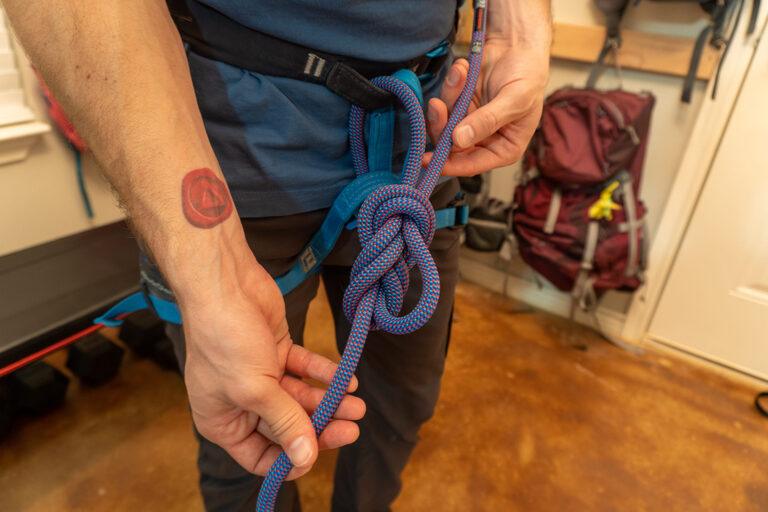
Put the rope with your other hand while holding the loop in one hand. Twist it around the circle for a figure of eight knots. You do have to use the knot to tie it together, so secure it to keep it intact.
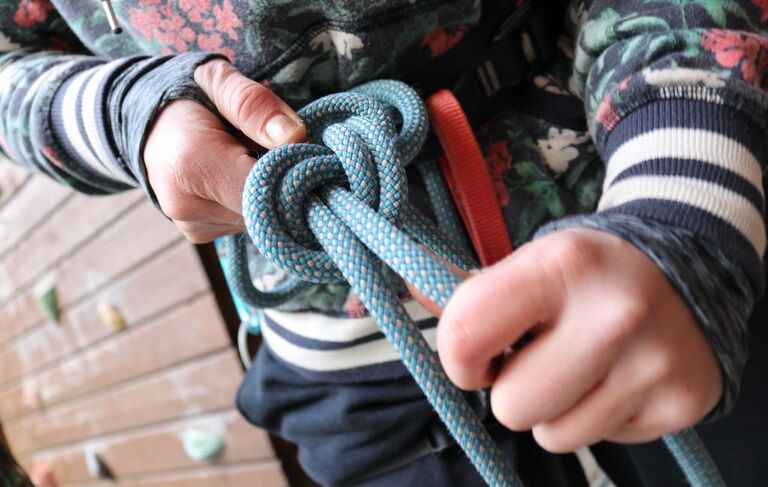
4. Throw the job end on the belt underneath the belay cord
When figure 8 is over, keep it side-by-side to start tying the cord to your belt. Use your harness with the pair of tie-in loops along the ring. Carry the seal to the lower loop, behind the lower loop and into the upper loop. Then drag until figure 8 is approximately 2 in (5.1 cm) away from your body
5. Feed the seal in the lower part of figure 8 knots
Keep the Figure 8 knots in front of the loop vertically to allow it a little easier to see. Then, between the knot and the body, put the rope down. Push it across the bottom loop to start the second node in figure 8.
6. Pull the line around the lower circle
Don't even put the end of the string under the tie. Keep the knot still instead to find the space between both the knot and the move. Push the seam through the circuit and under the edge of the knot
7. Bring the section to a second knot around the top loop
Practically, an analogous 8-knot figure is formed. In order to complete the second node, pass the end of the rope to you and below your initial node. Check for a little crack at the tip of the nude. When this is the case, pull the rope through to bind and secure the double figure 8.
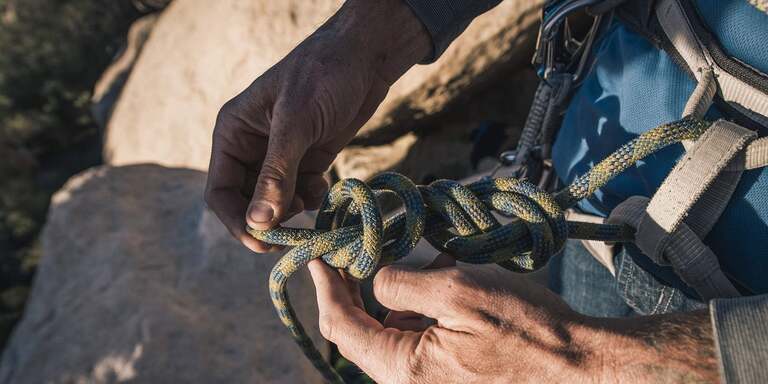
8. Keep the rest of the rope down overhand with multiple loops
Attaching the seam allows you to work with approximately 3 inches (7.6 cm) of additional length. Hold the opposite rope length, the standing end, that you have missed, and keep it side-by-side. Knot the job end as far as you could to the standing end.
CONCLUSION
If you really don't know what you are looking for, think what kind of gear you are going to need and how much you are planning to bring and how much you can need the bar when on a crag trip. Consider how you ascend and what you expect to do when you develop an insight in the near future.
Finally, before making a final decision, it's a smart idea to consider a number of different harnesses. Comfort is most of the time the most critical thing – it's best not to fuck you if you waste hours wearing it!
These basic things will start to restrict the variety of harnesses until you find what fits for your plan.


